
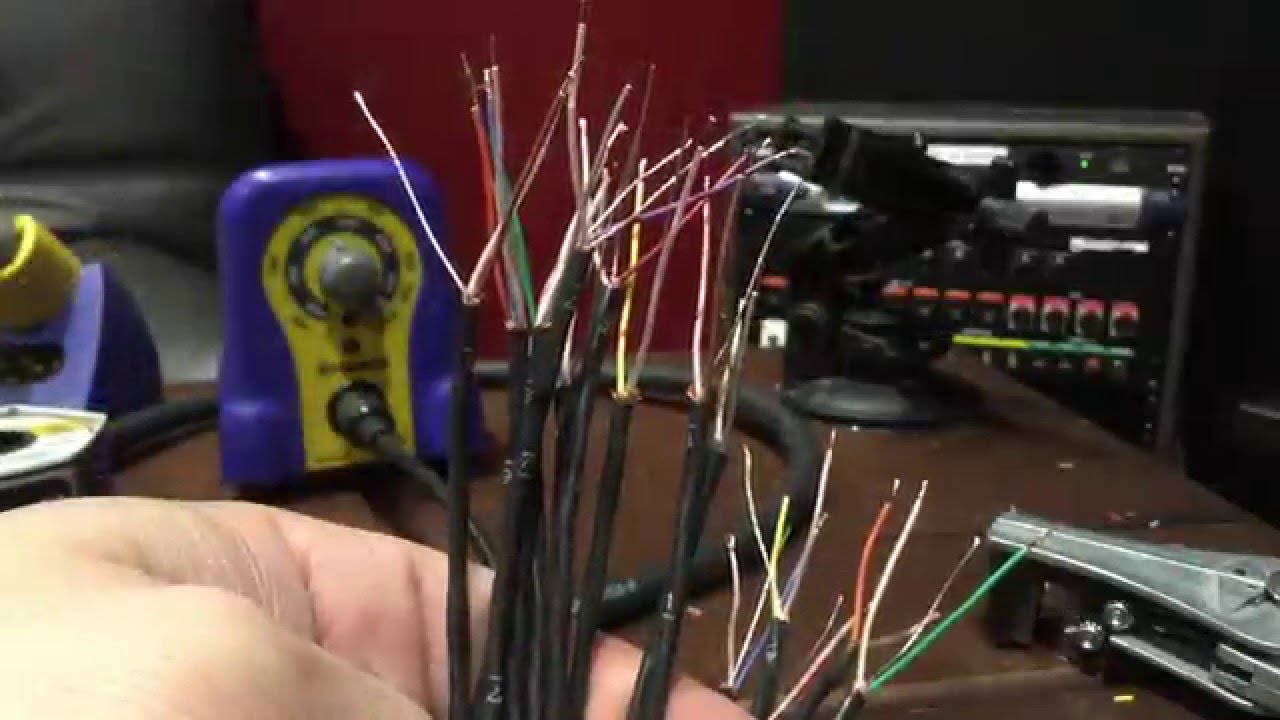
Reliable studio wiring is invisible when it works—and disruptive when it does not. These Hit Warehouse workshop videos document the materials, preparation, soldering, assembly, and installation behind balanced analog audio connections.
Build a balanced XLR audio snake
This detailed walkthrough covers the complete process for beginners, from selecting cable and connectors through preparation, soldering, strain relief, testing, and final assembly.
Prepare wallplates and connector cups
Good solder joints start with clean mechanical preparation. The first short guide covers wallplate preparation and tinning before the conductors are attached.
Prepare and install Neutrik combo jacks
The two-part combo-jack sequence shows how the Neutrik TRS/XLR connector is prepared and installed as part of the studio wallplate system.
Why this work matters
Careful labeling, consistent pinout, appropriate strain relief, and testing at every stage make a studio easier to troubleshoot and safer to operate. Infrastructure may sit behind the wall, but it directly affects session reliability.
Explore the Hit Warehouse equipment list, learn about the studio rooms and construction, or browse more production guides and field notes.